As electronic products tend to be miniaturized, PCBs tend to use surface mount technology more. SMD components are relatively small in size and are directly mounted on the PCB surface to save space. Mastering efficient SMD soldering is essential to ensure the dependability and functionality of the circuit board. This blog will provide you with a guide on SMD soldering, including the materials and tools needed, detailed soldering steps, and some useful tips to help you successfully complete SMD soldering.
Essential Tools and Materials for SMD Soldering
Prior to SMD soldering, a few basic tools and materials must be ready to ensure a seamless soldering process. Below, we’ve listed a few and explained their roles.
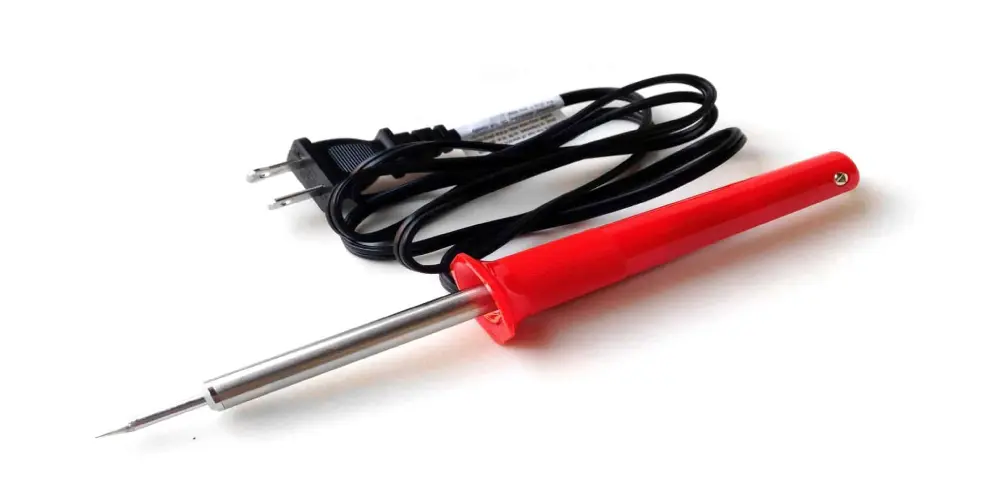
Soldering Iron: The soldering iron melts the solder at a controlled high temperature, and forms a strong permanent connection when the solder cools. A soldering iron equipped with a temperature control function will be more flexible and can adjust the working temperature according to different materials and welding requirements. For soldering fine-pitch surface mount components, a thin soldering iron tip is a good choice.
Hot Air Gun: By generating heated airflow, it can melt the solder and solder the components. It is often used to solder or desolder large-area SMD components.

Solder: It is available in a variety of forms, including wire, paste, bars, and pellets. The component and the pad establish a robust mechanical and electrical connection.
Liquid/Paste Solder Flux: Flux effectively removes oxides and contaminants from metal surfaces, allowing molten solder to flow evenly and better adhere to metal surfaces. This can highly improve the soldering quality.
Stencil: It is a tool used to precisely apply solder paste on PCBs, usually made of stainless steel plates with corresponding openings cut out according to the shape of component pads. It helps solder paste to be applied only to areas that need soldering, avoiding solder bridges or insufficient soldering.
SMD Tweezers: SMD components are very small and require the use of SMD tweezers to clamp, position, and place components. Additionally, it can lessen the possibility that components will be harmed by static electricity.
Magnifying Glass: This is used to check the solder joints’ quality to ensure there are no defects such as solder bridges, short circuits, etc. It works particularly well for small parts whose flaws are invisible to the human eye.
Anti-static Wristband: It can prevent static electricity from damaging sensitive electronic components and ensure SMD soldering safety.
Cotton Swaps: These are used to clean welding areas.
Alcohol: Alcohol is often used with cotton swabs to clean the surface of the PCB and remove flux residue after soldering.
How to Solder SMD Components: A Step-by-Step Guide
Hot air gun and soldering iron are two commonly used methods in SMD soldering. Choosing which one to use depends on the actual requirements, component size, complexity, etc. In real-world applications, using both tools together frequently yields the best soldering outcomes. Before soldering, please prepare the tools and materials needed. Check the required components and find out their polarity indications.
SMD Soldering Using a Hot Air Gun
- Inspect the PCB for any dirt or other particles and clean the area where soldering needs to be done.
- Putthe right amount of solder paste evenly on the pads. For less-complex PCBs, you are able to apply solder paste on the pads manually. For complex PCBs, a stencil is required.
- You must take a pair of tweezers to place the SMD component accurately on the pad. The viscosity of the solder paste will temporarily fix the component in place.
- After placingcomponents, soldering can be done using a hot air gun. Adjust the wind speed to moderate to avoid blowing away the components. First, preheat the circuit board to avoid thermal shock of the components. After preheating, heat the pad area and the components with the hot air gun nozzle, then heat them evenly until the solder paste melts to form a solid solder joint.
- Let the solder joint cool offon its own for a good connection, and avoid moving the component. Check the quality with a magnifying glass.
- Once soldering is done, alcohol may be used to clean the soldering area in order to maintain circuit board cleanliness.
SMD Soldering Using a Soldering Iron
- You need to clean the circuit board and make sure the PCB padsurface is clean.
- Apply a layer of flux on the pad. This will make the soldering quality improve.
- Heat up the soldering iron tip to the right temperature. One hand can be used for holding the component with a pair of tweezers and placing it precisely over the pad, while another hand touches the solder wire to the hot soldering iron tip. Once melted, apply the solder into the soldering area.
- To continue soldering the subsequent solder joint or component pin, follow the previous procedures.
- Solder joints should be checked under magnification.
- Once the soldering has been done, the area of soldering can be cleaned and flux residue can be removed using a cotton swab and some alcohol.
Useful Tips for Successful SMD Soldering Every Time
Here we have listed ten useful tips to help you perform successful SMD soldering each time.
- Please use anti-static toolslike wearing anti-static wristbands. This can protect components from electrostatic discharge.
- The soldering iron and heat gun will be very hot during the soldering process, so please avoid burning your eyes and skin.
- Do not inhale fumes produced from soldering because they may be superheated.
- The soldering iron tip should be always cleaned for good conduction of heat and to avoid contamination.
- Try not to hold heat in one position for too long. If a first attempt to solder a location fails, wait until the circuit board cools before attempting again.
- The soldering work should start from the center of the board to the edge. This will ensure even heat distribution and prevent local overheating, which may cause warping.
- First solder small components and then large components. Small components take less space, and later on, it is easy to position and solder large components.
- Preheating is necessary to avoid thermal shock to the PCB that may cause warping.
- Prepare a board layout sheet and a list of components to be soldered. When a component is successfully soldered, record it in the sheet. This method ensures accuracy and completeness during the soldering process.

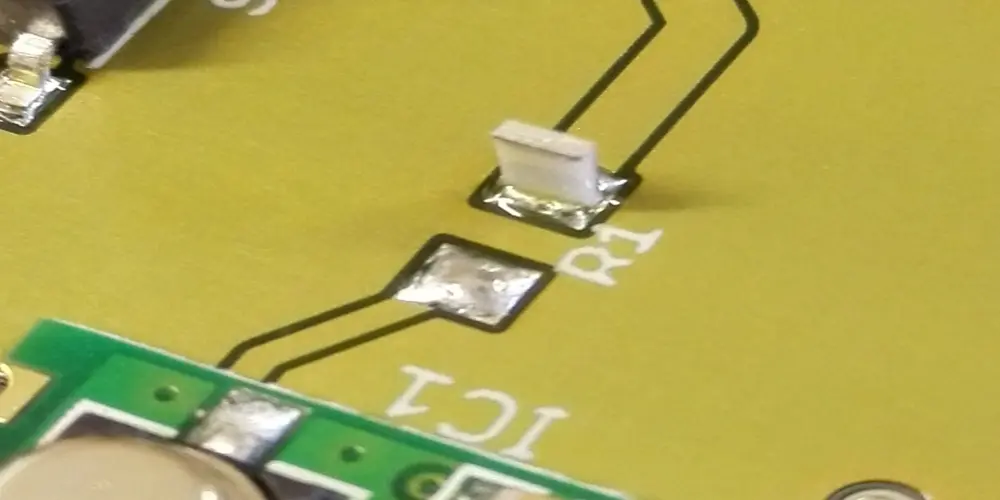
- A phenomenon wherein one end of the component lifts up because of unbalanced soldering, which is called tombstoning. It happens quite often with small components during soldering on a PCB. This can easily be avoided through proper fixing using tweezers and, thus, creating a uniform solder joint between the pad and component.
Last Words
Soldering is a key step in connecting electronic components to circuit boards. SMD soldering enables small, high-density PCB designs. By mastering the skills of SMD soldering, soldering can be done more efficiently and with higher quality. I hope this guide can provide practical help for your SMD soldering. If you have any questions or need further help, please do not hesitate to contact UnityPCB to get in touch with our experts. UnityPCB will help you find the ideal soldering method that suits your project.